
While you are constructing your new house or renovating, your date of start for floor sanding and coating must be linked with many other activities like carpentry, plastering, electrical works, plumbing, and glazing work. All these must be completed before you start working on your floors to obtain the best results.
You must visit website of FlooringDomain and shortlist your contractor for this activity well in advance and tie them up for your floor sanding activity when all other works have already started.
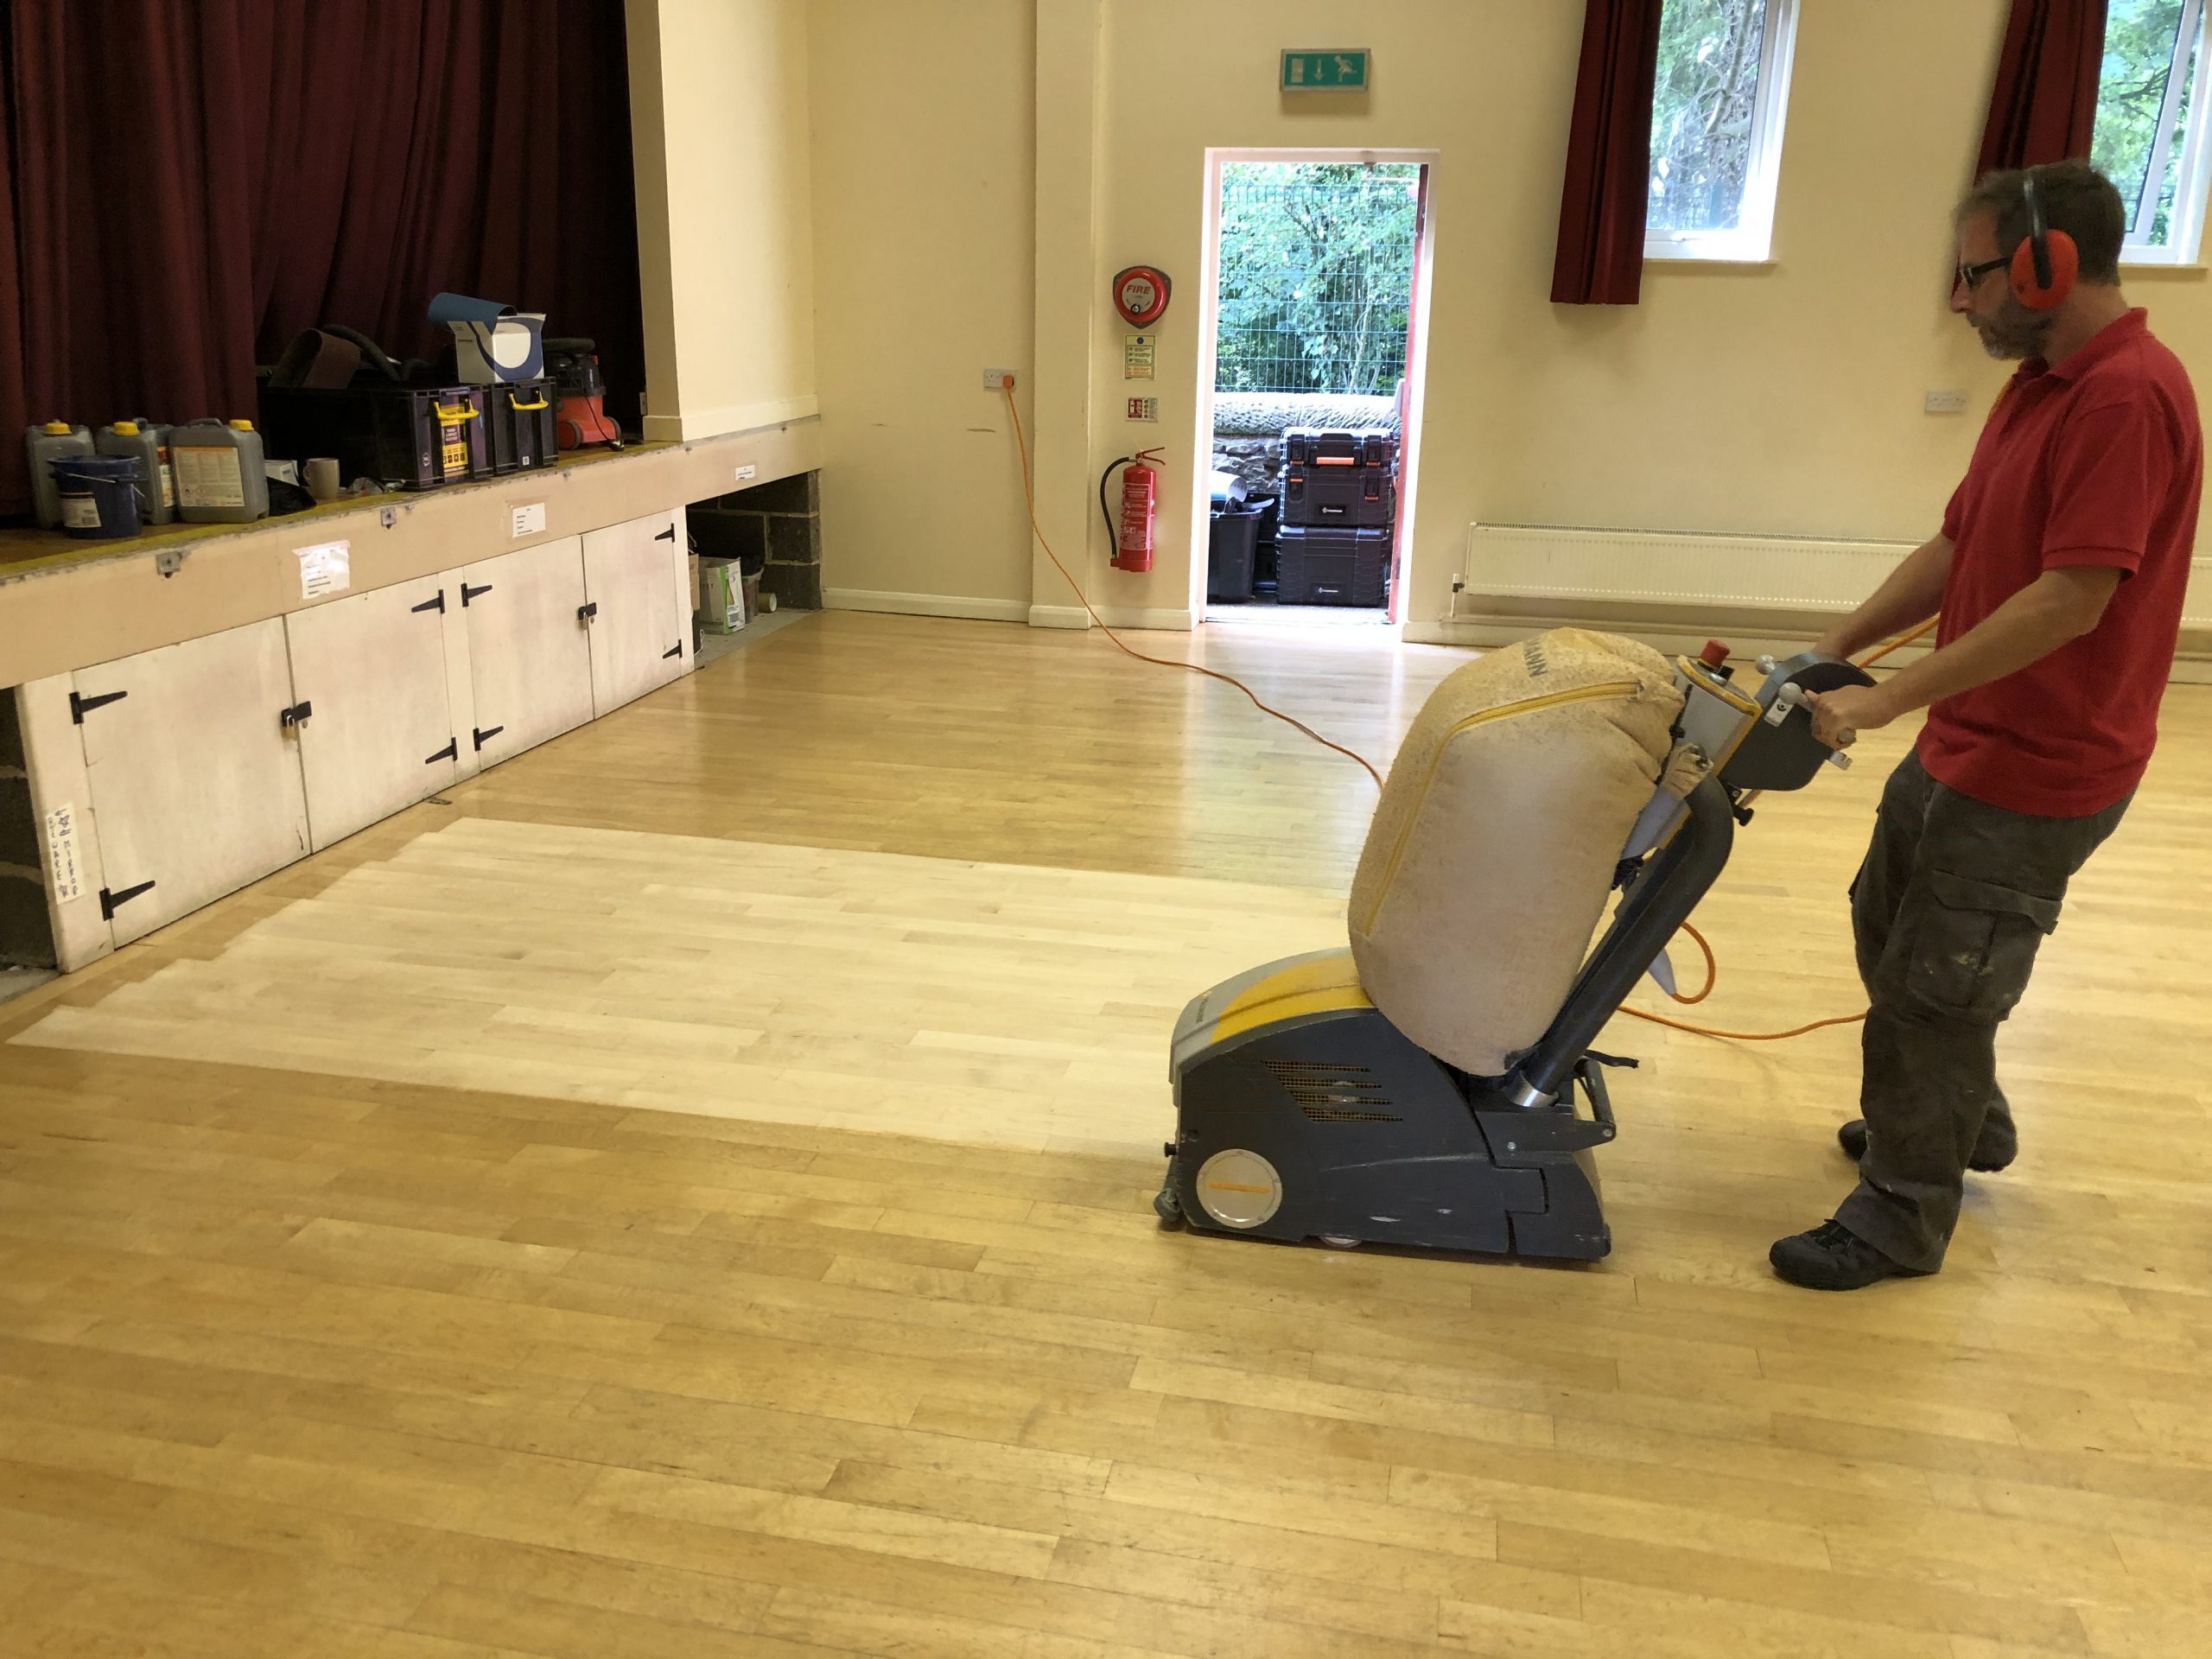
If you are planning to go in a DIY way for your floor then better use proper technique so that you can get a good quality on your finish. If you are ever in doubt, then you must consult any experts to get help.
Pros and cons for DIY floor sanding
Doing sanding wooden floors will not be a too difficult job to do if you have a little experience as DIY’er. It will be surely a time-consuming and hard job, but you can save lots of money with a little patience.
You must do a little research to learn a good technique depending upon the condition of your floor. So, assess your floor situation before starting the work and ensure that you have got the right tool and equipment.
Preparation for sanding and finishing timber floor

Tips for any homeowner before you go for sanding timber floor:
- As mentioned before your start date for these activities must be well planned in relation to all other activities.
- Ensure that carpentry, plastering, electrical works, plumbing, and glazing have been completed.
- All painting work except your final coat on your skirting boards must be completed before your floor coating.
- Seal all areas like vents and fireplaces through which dust can enter the room.
- Cover all large windows.
- Carpets must be laid only after the completion of the final coating.
- Disconnect all gas/electrical appliances through a qualified person.
- Cover all furnishing items that are non–moveable.
- Remove all your pets.
- Remove all your perishable food from your house.
Things that you must be aware of
- Any silicone lying on the floor may cause rejection of your subsequent coats. Any silicone or silicone-based products may also include ironing aids, fly spray, etc.
- Halogen down-lights can also highlight your sanding marks. So, sanding is essential in between the coats for adhesion.
- A slight marking may appear on skirting boards due to contact from the Edger. Hence, it is recommended that you may leave the painting on skirtings till the floors are completed.
- Some variation in color and grain is likely to happen in between old and new boards.
- Although modern sanding machinery will be fitted with arrangements for dust collecting, still it is difficult to eliminate all dust.
- Removal of any deep cuts or any gouges coming from the floor may not be possible.
- Few stains in boards or around the nail holes like water-marks may remain visible.
- Because of subsequent shrinkage as well as the expansion of timber, all the gaps between different boards cannot be filled always and that can cause your filler to crack.